FFXIV JOB SHOWCASE
INTRO
1/17/2023 UPDATE: Updated to reflect Patch 6.3! Check out the new Paladin stuff under the "Tanks" tabs and the "Job Accessibility" tab!
1/9/2023 UPDATE: With Patch 6.3, Paladin changes are upon us! The relevant Paladin sections will have temporary WIP signs on them until I learn how the new Paladin works.1/3/2023 UPDATE: Happy New Year! Check out the shiny new Job Accessibility tab up top! This tab is for helping folks figure out which Jobs are more approachable or challenging to pick up. If you want to pick a Job that's comfy to play, or a Job that will test your FF14 skills, or a Job that falls somewhere in between, check out the new tab!**Now that I’ve finally managed to reach level 90 in every combat Job in Final Fantasy 14, I wanted to share with you my thoughts on what they're like and how it felt to play them from start to finish. It’s been one heck of a ride, and I’ve found that the learning experience for every Job has felt completely different from one another. Some jobs feel buttery smooth to play; others feel a bit clunky at times. Some jobs steadily unlock their abilities as they level in a consistent and logical manner; others feel bizarrely incomplete for long stretches. But every single one of them has been a lot of fun to play and learn.If you’ve recently started FF14 yourself and have no idea what playing these jobs are like, or you’ve been playing for a while but there’s some jobs you’re thinking about trying, I hope my opinions might help you pick your next Job...or maybe help you avoid ones that might not be to your tastes.If you're new to the game, or you just want a very brief overview of how each Job works, feel free to read up to the "What's It Like To Level?" section for each Job. If you want a more detailed look into how a Job operates at higher levels, press on into the "A Deeper Dive Into The Job" sections. Each "Deeper Dive" section will also contain a link to a more detailed guide video on how to play the Job, expertly made by Wesk Alber!For the sake of newer players, I’ll also talk about each of the Roles. Every Job in the game is divided into one of several Roles: Tank; Melee DPS; Ranged DPS; Caster DPS; and Healer. Feel free to take a peek at each Role to get a feel for what they entail and what they expect from you.-Serengeral AlaanFYI: I won't be talking about Blue Mage for this article! While I enjoy Blue Mage quite a lot, it is entirely its own beast that can't play "normal" content the usual way with other, more regular Jobs, so I'll save discussion about it for another time.Now that I’ve finally managed to reach level 90 in every combat Job in Final Fantasy 14, I wanted to share with you my thoughts on what they're like and how it felt to play them from start to finish. It’s been one heck of a ride, and I’ve found that the learning experience for every Job has felt completely different from one another. Some jobs feel buttery smooth to play; others feel a bit clunky at times. Some jobs steadily unlock their abilities as they level in a consistent and logical manner; others feel bizarrely incomplete for long stretches. But every single one of them has been a lot of fun to play and learn.If you’ve recently started FF14 yourself and have no idea what playing these jobs are like, or you’ve been playing for a while but there’s some jobs you’re thinking about trying, I hope my opinions might help you pick your next Job...or maybe help you avoid ones that might not be to your tastes.If you're new to the game, or you just want a very brief overview of how each Job works, feel free to read up to the "What's It Like To Level?" section for each Job. If you want a more detailed look into how a Job operates at higher levels, press on into the "A Deeper Dive Into The Job" sections. Each "Deeper Dive" section will also contain a link to a more detailed guide video on how to play the Job, expertly made by Wesk Alber!For the sake of newer players, I’ll also talk about each of the Roles. Every Job in the game is divided into one of several Roles: Tank; Melee DPS; Ranged DPS; Caster DPS; and Healer. Feel free to take a peek at each Role to get a feel for what they entail and what they expect from you.-Serengeral AlaanFYI: I won't be talking about Blue Mage for this article! While I enjoy Blue Mage quite a lot, it is entirely its own beast that can't play "normal" content the usual way with other, more regular Jobs, so I'll save discussion about it for another time.
DISCLAIMER
Before we start, allow me to qualify a few things.First and foremost: this preview is not intended to be a guide to teach you how to play the Jobs in detail. For that, check out some of the links on the Guides tab! Instead, I'm hoping to talk about how each Job generally plays, what it felt like to level them to max level, delve a bit into the technical details of how they function, and what I enjoyed about them.Second: I’m going to be talking about what it felt like to level these jobs from start to finish, primarily doing content that shows up on the Duty Roulette. For people new to this game, "Duty Roulette" content is content you'll mostly encounter while playing through the main story. You can think of it as "Normal mode" gameplay, rather than the "Hard" and "Very Hard" modes that exist elsewhere in this game.Third: when I talk about how difficult a job is to play, I’m generally referring to how hard it is to play the job without making too many serious mistakes. That means I’m not going to be talking about how hard it is to play the job perfectly optimally, but rather the difficulty in playing a job while making use of all its abilities in a reasonably consistent manner.Fourth: a lot of the things I’m about to say here are just personal preference. I’m sure many people with a lot more experience and skill than I do will strongly disagree with me on a lot of things, and you might find that I have issues with certain Job aspects that you don’t, or vice versa. Try these Jobs out for yourself and see if they suit your tastes! Your experience might not be the same as mine.
LINKS TO GUIDE VIDEOS
If you want to have a more in-depth guide on how to play the Jobs, check out these links to videos made by other folks on Youtube! I've relied heavily on the first two in particular for figuring out how all the Jobs work.
JOB ACCESSIBILITY
Throughout the length of this website, I’ve talked a lot about what each Job does, how they play, and what it was like to level them. I hope it’s been useful for helping you decide what Job in FF14 you’d like to try next, but perhaps you’re still not sure about what new Job to pick, or maybe there’s just so many cool Jobs that you’re having trouble deciding which one to pick.One factor that might help you make your decision is knowing whether the Job is accessible or challenging. Can someone expect a slow, comfy experience when playing the Job? Or should they expect a test of their FF14 skills every time they get behind the wheel? Something in the middle?This article explains how accessible or challenging each Job is, according to my personal opinion. My other articles discussed how each Job works and what it's like to level them; this one will take a step back and look at all the Jobs as a collective whole, to see how demanding or comfy they are.
IMPORTANT CAVEATS!
This article does not look at how easy or hard it is to perfectly optimize a Job. I’m here to talk about what it’s like to get your head around the basics of the Job while playing Normal ("main story quest") content.Second, and almost as important: most of this article is subjective, because whether something has a gentle or steep learning curve depends a lot on the person. Maybe you’ll find the Jobs in the “Challenging” list to be a cakewalk to learn, or maybe you’re having trouble figuring out some of the Jobs on the “Accessible” lists. Whatever the case, please don’t take what I say here as the objective truth. I might have had an easier time understanding certain things than you did, and likewise, there’s almost certainly someone out there who thinks I’m a colossal doofus for finding Bards tricky to play.Also, to add to the above: don’t feel bad if you’re struggling with learning a Job in the “Accessible” list. It’s absolutely not my intent to make anyone feel dumb just because they're having trouble figuring out a certain Job. Remember, everyone learns different things at a different pace.
DEFINITIONS
When I say that a Job is Accessible, I mean that it will provide a more comfortable, less demanding experience to perform your role at higher levels, relatively speaking. Accessible Jobs will tend to be easier to understand, less punishing if you make a mistake, and have fewer things to keep track of. Jobs I've labeled as Accessible are perfect for learning the basics of the game while making your way through the game's story, but players who want a stiff challenge to their FF14 skills might find these Jobs lacking.When I say that a Job is Challenging, I mean that playing the Job at higher levels will demand a more attention, care, and skill to play without making lots of mistakes. Challenging Jobs will likely require some extra practice before you can master their basics and/or demand you to split your attention between multiple aspects of the Job. Veteran players and newer players alike can get very rewarding experiences out of any Challenging Job, though if you're inexperienced with game basics, you may find yourself overwhelmed at times by what these Jobs demand from you.And Moderate Jobs are simply Jobs that fall somewhere in the middle.As I go down this list of Jobs, I will order them from most Accessible to most Challenging, from top to bottom, as well as putting them within the above three categories. You can think of this list as a spectrum, with comfier, lower-difficulty-curve Jobs at the top of each list, and higher-difficulty-curve Jobs at the bottom.
ACCESSIBLE JOBS
The Acessible Jobs, in order of most accessible to most challenging, are as follows:White Mage
Warrior
Summoner
Machinist
Dancer
Reaper
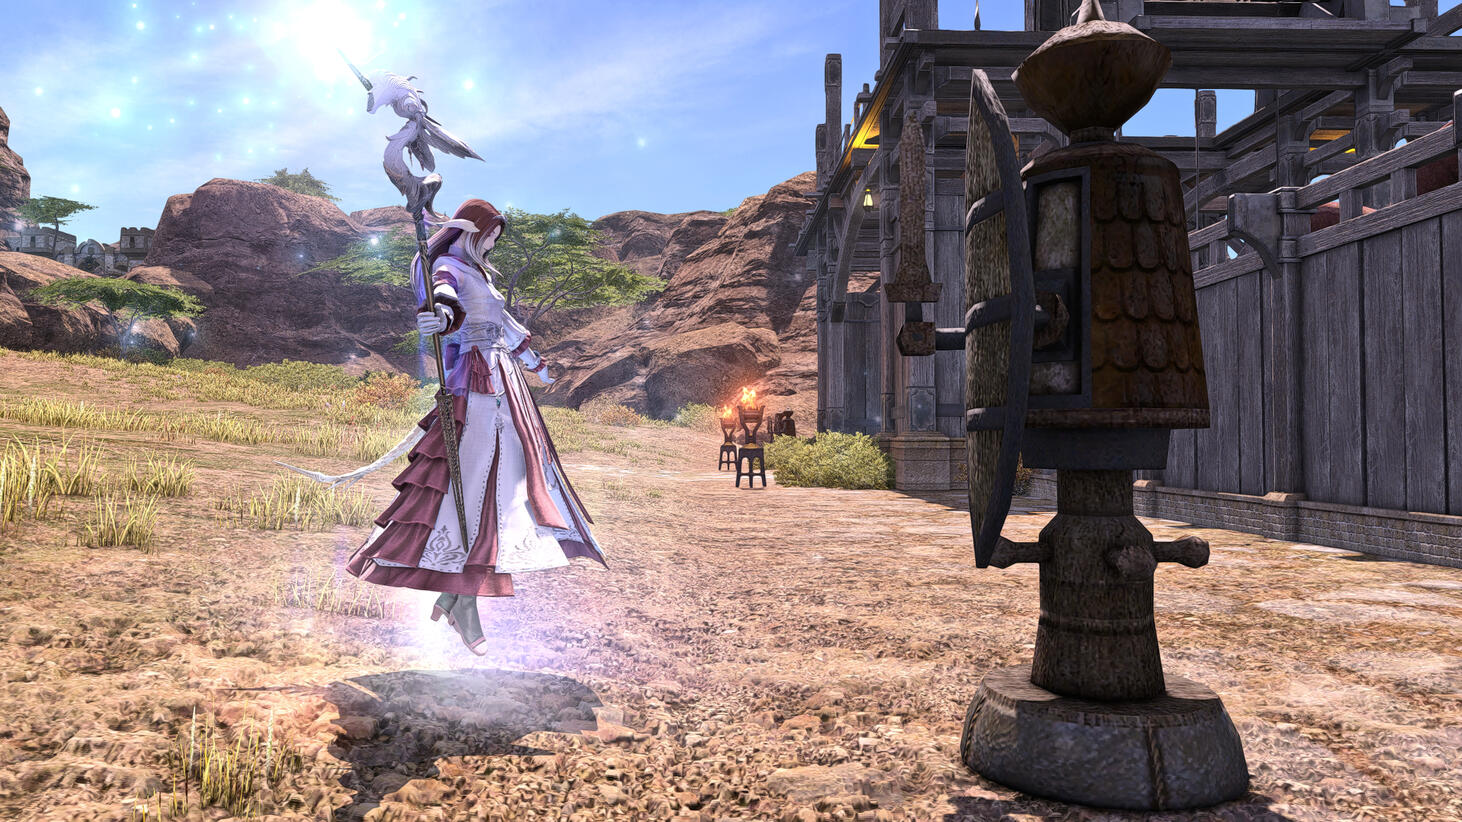
WHITE MAGE

Quick Summary
Simplest, most straightforward Job in the game
Toolkit is almost entirely big, straightforward HP-restoration effects
No real gimmicks outside the Lilly Gauge system
Extremely approachable, perfect for brand-new players; might be too slow-paced for veteran players
Try Astrologian for something faster, or Scholar for something more complex
How Accessible Is It?
White Mage, especially early on, is arguably the simplest, most straightforward Job in the entire game. On the offense, you have no combo sequences to perform or complicated maneuvers to pull off: you have one attack spell for single targets, one attack spell for multiple targets, and a damage-over-time spell. Until you unlock its Lily Gauge later in the game, that’s basically it.With this extremely simple offensive arsenal, you can focus on keeping your party members alive, and the White Mage's arsenal--consisting mostly of straightforward HP-restorative effects--gives you an uncomplicated toolkit perfect for just that. This allows you to focus on other things, like learning the game's basic controls or carefully watching the enemy to see what they're doing next, or even enjoying the game’s story and music. If one of your allies gets injured, just dump one of your potent heals on them and move on, no other gimmicks necessary.While the Healing role overall can become challenging at times towards the end of the game, the path to get there isn't necessarily as difficult, and White Mage offers the easiest way down that road. Any noticeable challenge with the Job comes towards later in the game, when you unlock the ability to generate and expend Lillies to charge up your Afflatus Misery attack, and here the most difficult part is remembering to not expend more Lillies while Afflatus Misery is ready to be used.I started my FF14 journey as White Mage, and--with the benefit of hindsight--I'm very glad I did. The White Mage's simple gameplan, simple toolkit, and simple execution of its myriad healing tools gives it a very easy learning curve, and it was perfect for my very first MMORPG experience.Unfortunately, this uncomplicated nature can make the Job so easy to learn that veteran players may be put off by the sedateness of the experience. If you’re already mastered the earlygame challenges FF14 has to offer, Astrologian or Scholar might be more your speed. If you haven’t mastered those basics, however, then White Mage is a great place to start your journey in Eorzea.